This blog post is the last part of my blog series Behind the Scenes started in February 2018. Find out more on the previous posts here. I’m doing this to inspired budding artists to set up their creative space and to inform art-lovers and collectors who wonder what it takes to create a painting. Some of my personal tips are included in this post.
Over the past three years, I’ve opened my atelier and my creative process much more publicly than when I started painting three years ago. Since the middle of 2017, I’ve started to do live painting events, including live streaming on social media… but let’s start at the beginning. This post is about the various ways to document my art-making activities and some tips around these. I look forward to hear about yours!
Engage a professional photographer – you won’t regret it!
The most important thing that has helped me take my art seriously has been to get proper photographs of my paintings made. Only through professional photographs have I been able to document my portfolio online and in print. The high definition photographs have been taken in various formats by my trusted photographer – including CMYK TIF, RGB TIF, RGB JPG. Without my art catalogue – self-published using a photo printing online service and high-definition photos, I wouldn’t have been able to share my work more widely, with collectors living away from Hamburg and choosing my artwork online or thanks to my catalogue which has been useful for galleries and visitors to my atelier.
Tip number 1: If you are serious about your artwork, start by getting your artwork professionally photographed. You won’t regret the investment
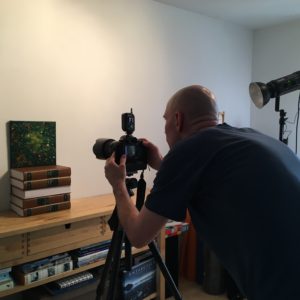
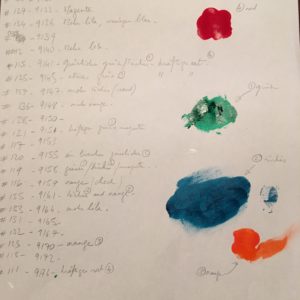
Tip number 2: Take the time to talk through and adjust the contrasts with your photographer, to make sure that the reds, greens and blues come out as you wish – see the example of a photo session above and the instructions to my photographer to get photos close to the “real thing” with little swabs of the real hue of red to get to the right contrast
The other benefit of engaging a professional photographer is that it will be easier to sell an original painting later on as you will have captured the original painting before it leaves your atelier and you’ll be able to print your artwork or recall it at any time.
Tip number 3: Try to have the photographer come to your atelier for a 3-hour session to optimise the time and effort. This corresponds to shooting ca. 20-25 large paintings in my case, every 6 months or so.
Take work-in-progress shots and videos or your art-making process
You don’t need a highly sophisticated equipment for this and it’s one of the best way to get engagement from potential collectors and encouragement from fellow artists, friends and family who might not live near you in between photo sessions and sharing new portfolio items. Invest in a smart phone, a tablet and a tripod if you don’t have one already, and then you’re off…
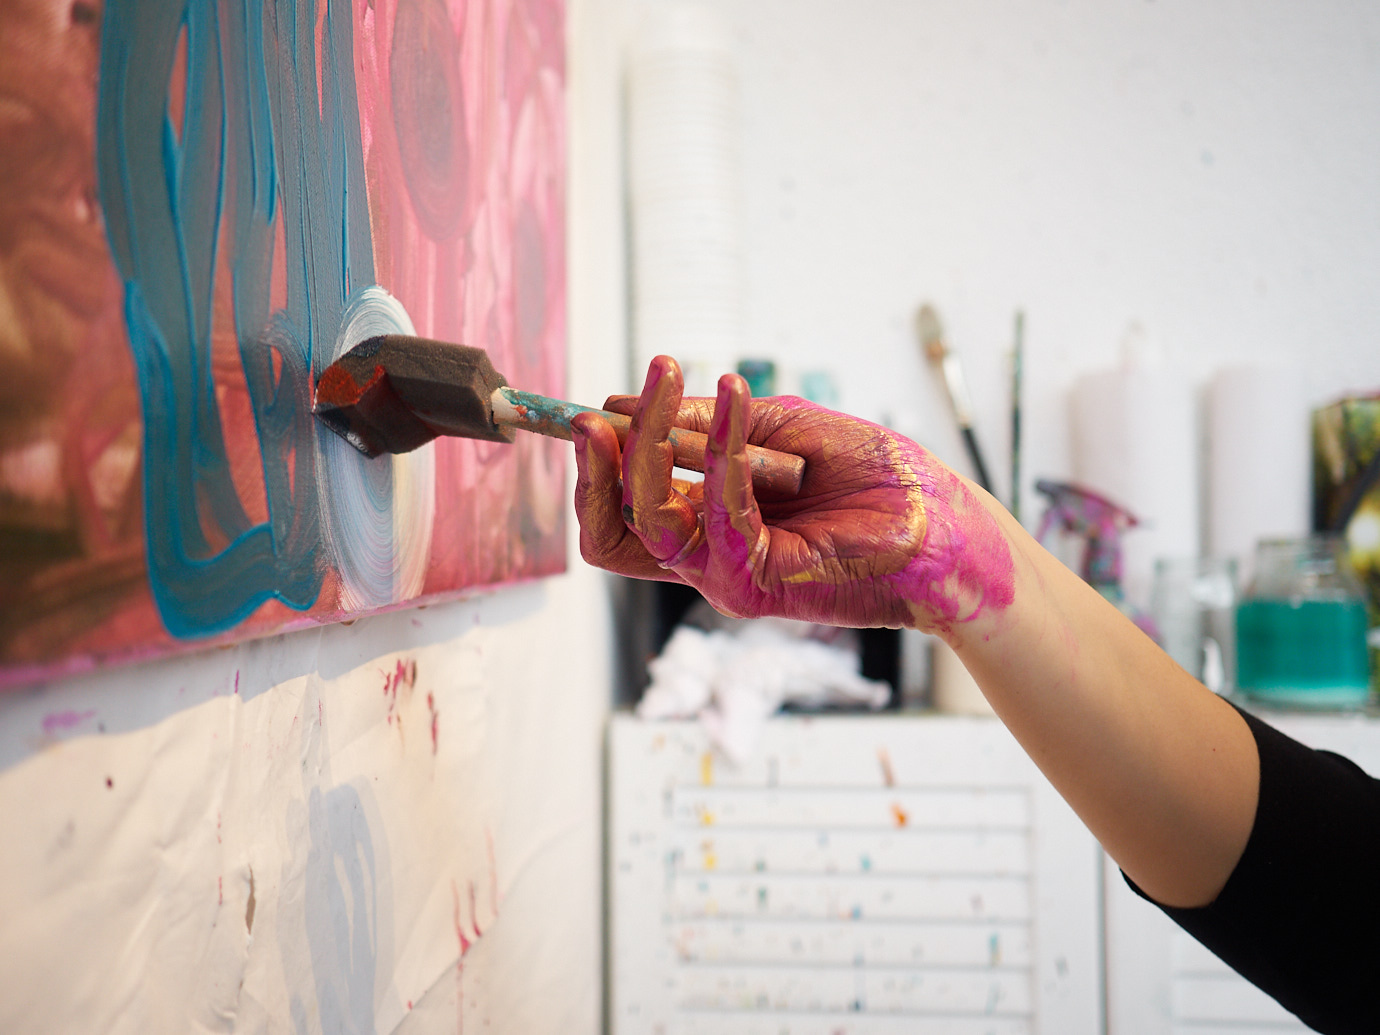
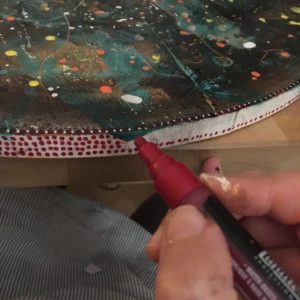
I’ve adopted an iPhone and iPad as my instruments of choice and it’s been great to work with them and a simple editing program to get my videos uploaded on YouTube, Instagram or Facebook. I’m not a techie. I’ve tried a few alternatives, a few angles and I’ve also asked for feedback. Time-lapse and real-time videos and some photos at intervals have helped me to document my art activities for my social media feed and for this website. And I find it fun too! As I work in layers, this documentation also allows me to keep a memory of the transformation of a painting. And sometimes, collectors love to see the phases that a painting has gone through.
Tip number 4: find your way with this, experiment, try what works for you, but don’t let the documentation of your process interfere with your creativity
Tip number 5: as an artist, when you do a commission, check with your collector what their preferred way of documentating their commission is (process photos, time-lapse video, real-time video…) I’ve had very different feedback on this, so it’s worth clarifying ahead of the engagement itself.
Come over to my Instagram account to see how I’ve been using Instagram as an extension to my website for documentation purposes.
I also have a YouTube channel where I’ve uploaded a few videos of my art-making process.
Think about getting your art portfolio online
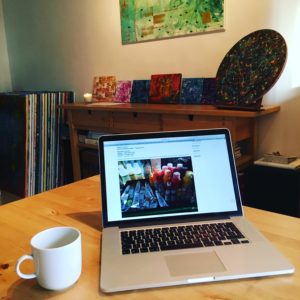
This was probably one of the boldest decision that I took. And it’s not for everybody to put herself or himself “out there” for all to see… Personally, putting my art online and creating this website and my blog has been one of the most important decisions that I took to “go professional” with my art-making. How many times have I been asked if I had a website with my portfolio on it? It’s an investment every year, it takes a bit of time, but it’s also fun for me to do.
Tip number 6: you’ll have to do your homework around this and need to be committed to do it for the long run, otherwise what’s the point? Find a platform which will suit you, look around at other artists’ websites, consider the costs of hosting, cyber security features, maintaining the site and writing your blog or uploading your portfolio. Are you up to this?
What about a newsletter or an Instagram account?
This is one of the most significant steps into going professional with your art-making activities and it’s not an easy one, but probably one of the most rewarding as you get to really interact with your collectors, fellow artists and supporters.
Tip number 7: ponder about this one even more than with the other ways of documenting your artistic endeavours. If you’re not prepared to commit, don’t even start as you’ll have to think about building your readership, posting or writing fairly regularly… and that does take time away from your creative endeavours.
Tip number 8: You should be spending more time creating than curating your social media accounts or writing your newsletter, ok?! If you want to get serious about your art-making and getting more professional with how to sell your art online, there are good mentors like Amira Rahim, who delivers online training on Instagram or Cory Huff of the Abundant Artist who can help you navigate this whole “going professional” stuff.
Last but not least: your business cards and flyers!
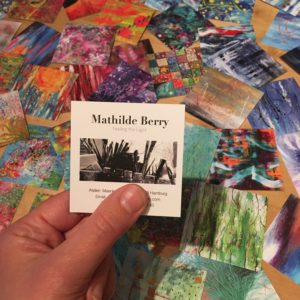
Tip number 9: If you’re looking to share your art-making activities, get professional-looking business cards. Moo.com is my personal favourite online business card, postcard and flyer supplier.
I’ve been complimented by many people on my beautiful personalised business cards which have miniatures of my paintings on them. I’ve also seen flyers that I shared with friends and acquaintances on more than one fridge door, desk or window sill – which makes me happy every time! Think how you want your art to be noticed or remembered and document and share your art-making activities accordingly.
Any other ideas and suggestions from your side? I’d love to hear what you do to get your art-making activities noticed and documented. Find what feels right to you in any case. Happy creating and documenting!
