This blog post is part of my blog series Behind the Scenes started in February 2018. Find out more on the previous posts and the posts to come here. I’m doing this to inspired budding artists to set up their creative space and to inform art-lovers and collectors who wonder what it takes to create a painting. Some of my personal tips are included below.
“These are a few of my favorite things”
To use the lyrics from the the Sound of Music film feels very appropriate to introduce you to some of my favorite things in my atelier.
“Raindrops on roses
And whiskers on kittens
Bright copper kettles and warm woolen mittens
Brown paper packages tied up with strings
These are a few of my favorite things”
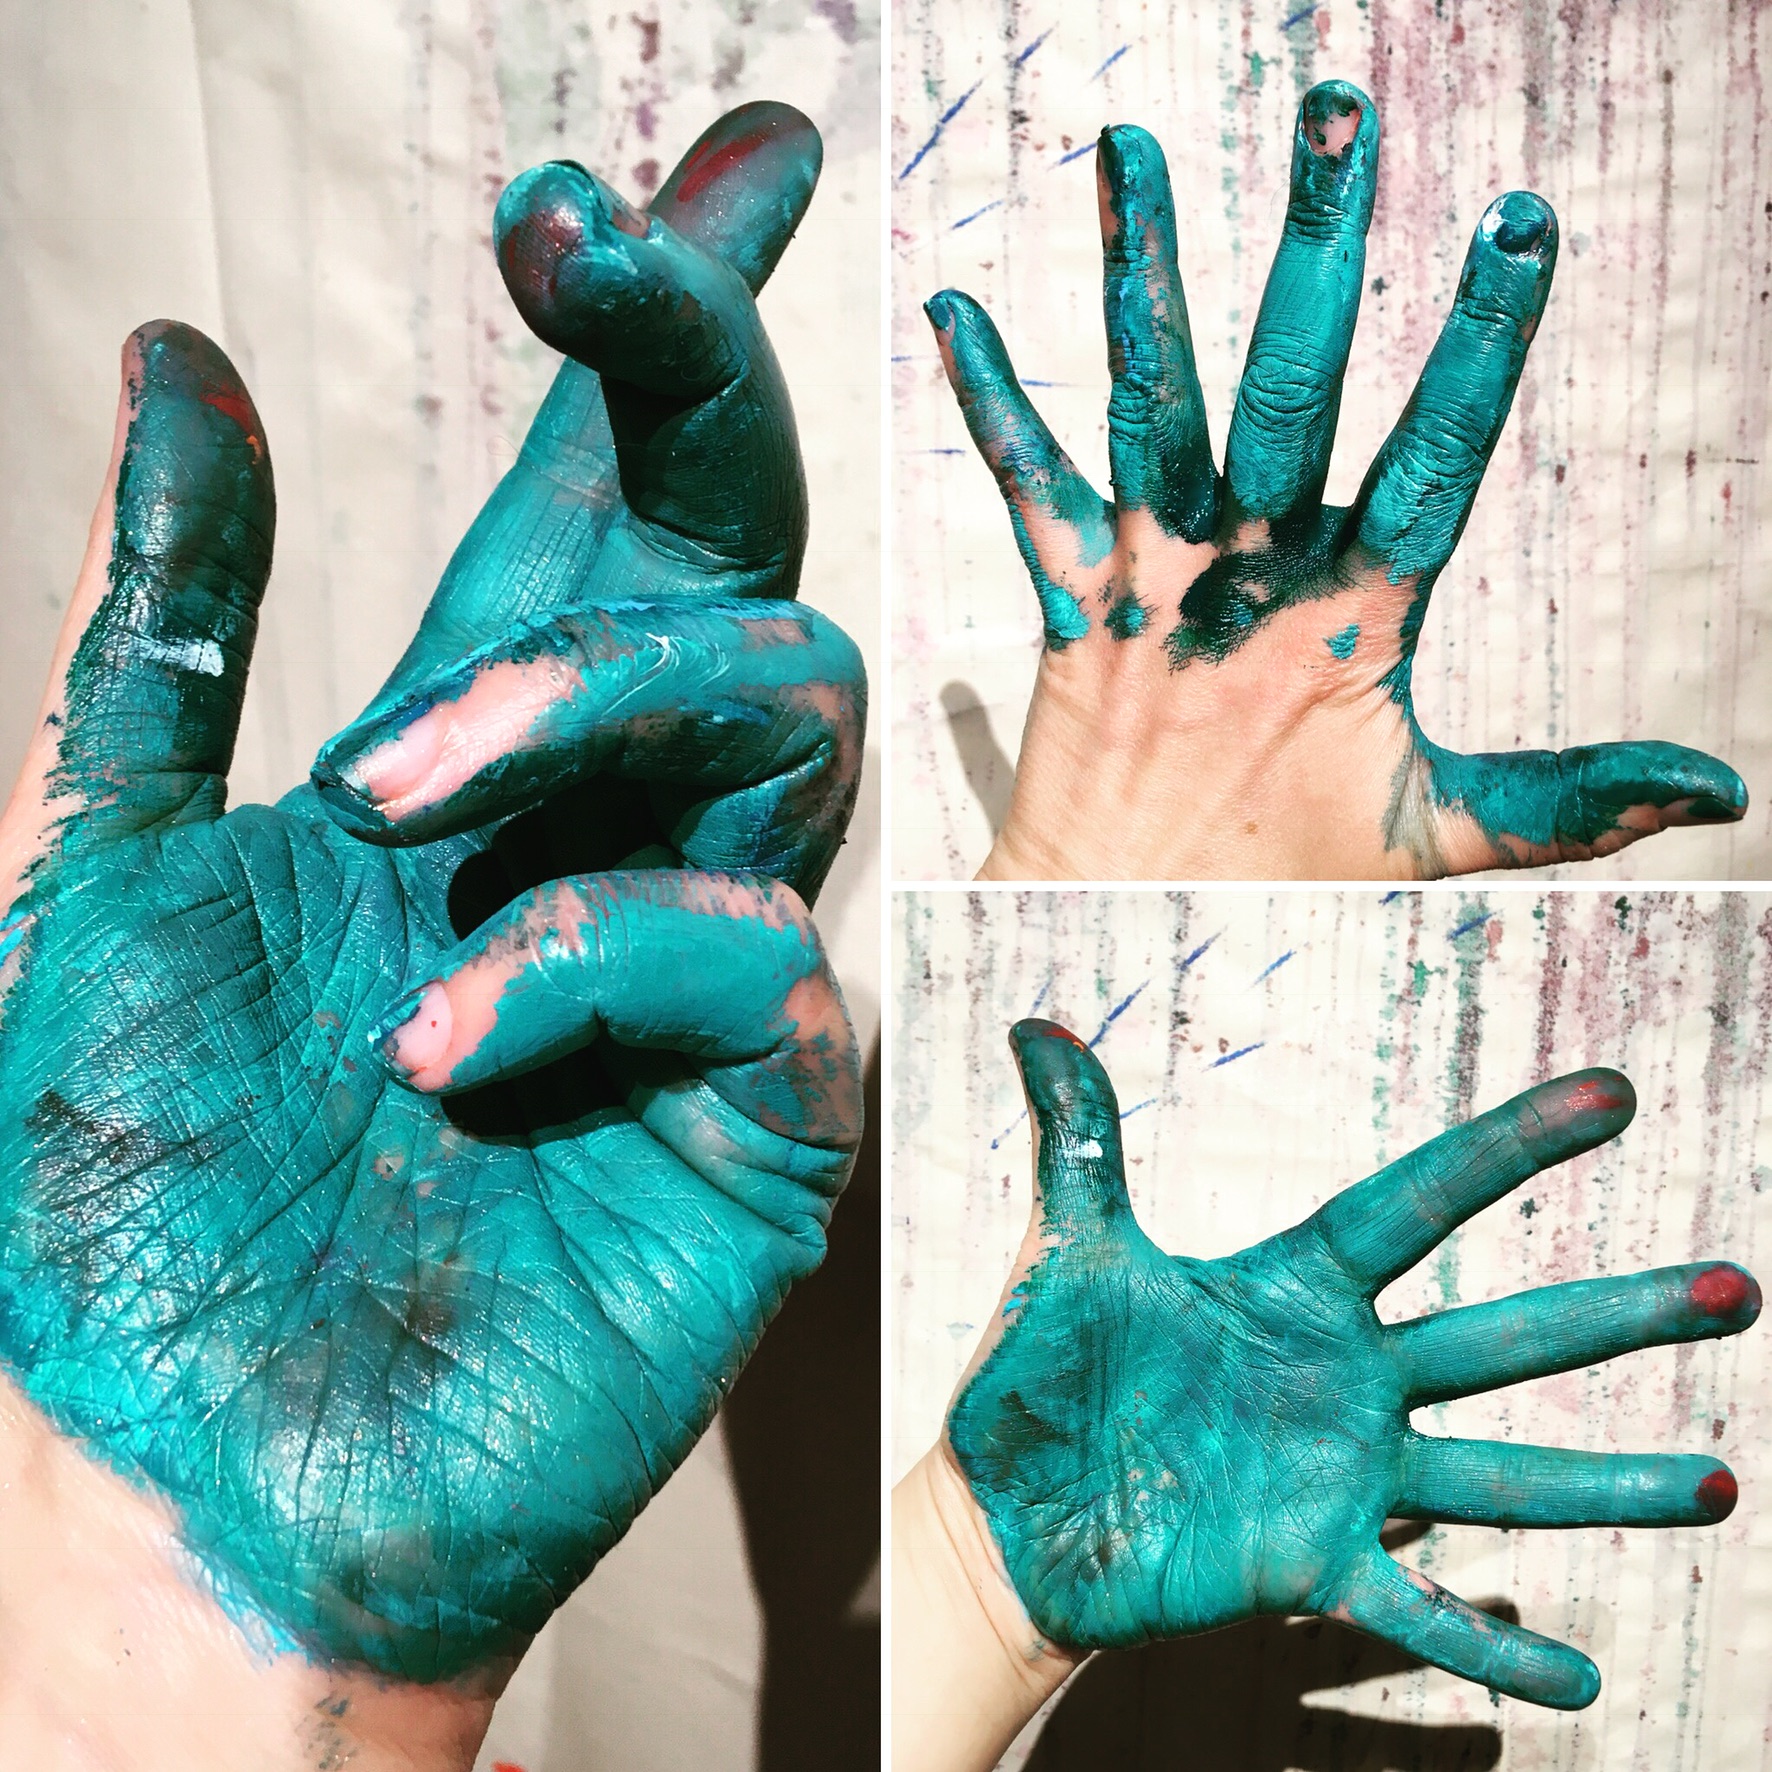
Get your hands dirty!!
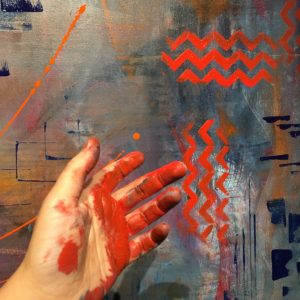
My all-time favorite tools have to be my hands! I’ve learned to write and do most things with my right hand, but when it comes to art-making, piano playing or binding a flower bouquet, even cooking, things get so much more exciting when using both hands. Using the non-dominant hand is very liberating too. So give it a try, don’t hold back and try your non-dominant hand or both your hands on the canvas! Check out this video (The interview was in German, but subtitles in English will come soon!) to see how much I use my hands when painting…
Tip number 1: if you’re afraid to get your hands dirty, you can wear thin latex (if not allergic) or rubber examination gloves (the type that dentists use). They also allow for lovely wave-like mixing effects directly on the canvas. Otherwise, be ready to use a sturdy nail brush and to scrub the mess!
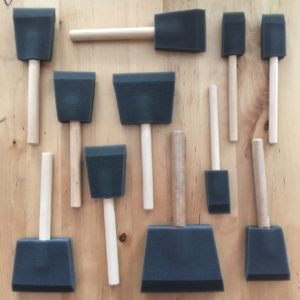
Flat foam brushes – so versatile!
These are one of the most versatile tools that I know of after my hands. They can be used flat for spreading color in block on the canvas, to mix cream-like colors together and create beautiful wave effects, to make circles or nice stamping patterns. The wooden handle end can be used to stamp little paint dots on the canvas. You can see some of the effects that I created with flat brushes in this video if you haven’t clicked on the lind above (as I said, it’s in German, but subtitles in English will come soon!).
Tip number 2: get the stronger, more solid type of foam brushes which last longer – like these. Foam brushes are also much cheaper than the more classical paint brushes.
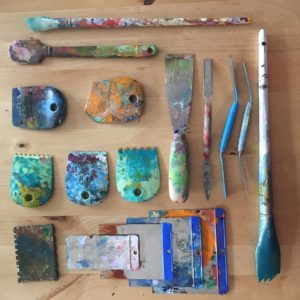
Spatulas, scrapers and knives
I love to scrape and move paint around using all sizes and shapes of painter’s knives and scrapers. The sound of scraping paint off the canvas is very satisfying to me! Some of these tools are made of metal, others are made of silicon or plastic. Some have handles, others can be held in the plam of the hand.
Tip number 3: I would avoid the cheap plastic spatulas which are too soft and bend easily and invest in proper ones. Short for cash? Try scraping with alternative scrapers such as old credit cards (how fun!), thicker cardboards or carton cut to shape. And don’t be afraid to try for different effects. The more you experiment, the more fun it is! Scraping with an old fork or chopsticks is also fun!
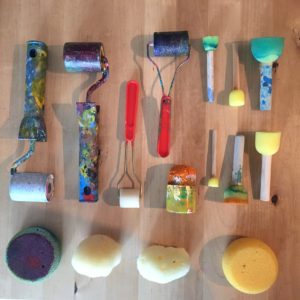
Sponges and rollers
Oh these are fun! When I give workshops in my atelier and introduce sponges, they tend to become the next best friend of budding artists, at least for a while! I love the freedom of sponges which make for wonderful stamps or help make twirls on the canvas and blend color in interesting shapes, giving structure to the paint.
Tip number 4: you can cut household sponges to make your own stamp shapes. Put a little blob of paint on a jar lid and dip your sponge in the blob of paint (not too much!) before applying to the canvas. Experiment with different colours of paint on the same sponge, apply paint straight to the sponge, there are many possibilities to explore!
Rollers (foam/sponge-based or rubberised) are also a great tool to help blend layers of paint in a structured way or to apply in light touches here and there.
Tip number 5: lino rollers which are originally not meant for acrylic canvas but lino printing achieve the most fun effects. When applying paint blobs directly on the lino roller, you can achieve great repeating patterns.
Now, I’d love to hear about your own (new or old!) favorite tools, so please let me know in the comments below.
And if you’d like to hear more or try these, I’d be happy to give you more tips and guide you gently through these tools in my workshops, either virtually or in person in my atelier. My hourly rate is €40 for private tuitions or €100 for a 3-hour intensive session. Contact me by mail at mathilde@mathildeberry.com if interested!
In April, I’ll share more of my favorite art supplies, tools and resources, so stay tuned. Happy painting in the meantime!
And here’s the link to the video which shows how I use some of these tools in my painting process if you haven’t watched it already above.

