This blog post is part of my blog series Behind the Scenes started in February 2018. Find out more on the posts to come: here. I’m doing this to inspire budding artists to set up their creative space and to inform art-lovers and collectors who wonder what it takes to create a painting. Some of my personal tips are included below.
Willkommen! Bienvenue! Welcome!… to my atelier!
“Atelier” is the French word for “art studio” or creative space. In three years, this half-room in my flat went from being a junk-filled, almost discarded winter garden, to the birthplace of over 100 paintings.
I LOVE my atelier.
It’s flooded with light during the day, it’s well lit in the evening thanks to movable spotlights and it’s in my flat, so I don’t need to leave home to paint. That’s been crucial for me as it’s easier to commit time to create. My creative space is about 4.5 square meters (or 48 square feet), a tiny room, big enough for me to have 3 large paintings (100cm x 100cm or 40″ x 40″) on the go at once, and two smaller ones (50cm x 50cm or 20″ x 20″) because I’ve optimised the space.
At first, I had a small, packed table on which I mixed my paints, but it took too much room and was not supporting my way of creating. So I removed it and made space for a big easel – a birthday gift – and a smaller easel found on a flea market. I also asked for help to get sturdy screws fixed to the wall to hang my canvases on them and paint standing.
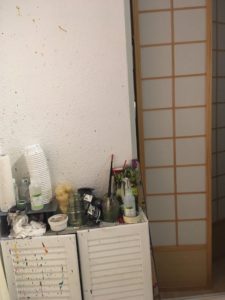
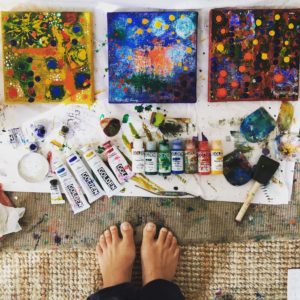
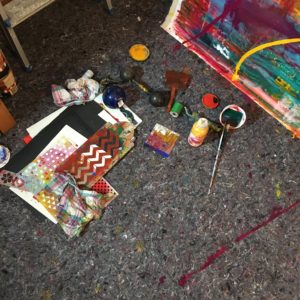
I use floor space to mix paint in old yoghurt pots, I’ve turned a bench into a shelf and recycled two old cupboards to store my supplies and my rags. I also found a moveable partition to hide the colourful “mess” aka my work in progress canvases from the living room when needed 😉
Here’s my tip number 1: as a budding artist, if you have the possibility to free up even only 2 square meters, that could make a big difference to your willingness to create – instead of having to clear space each time you want to paint/make art.
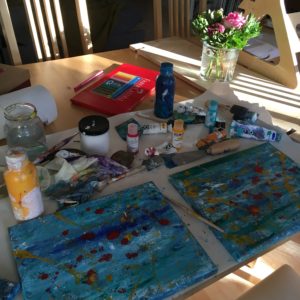
Tip number 2: if you can’t free up half a room, start small and use any table top or even on the floor and cover it with a good protective sheet – by recycling old fabrics or getting a cheap cover from your DIY store!
Tip number 3: Keep things in order – or at least know where your stuff is!
It might sound obvious, but not only does keeping things in order helps me to optimise limited space, but it has made it much easier for me to create. Why? By knowing exactly where every tool and supply is in my atelier, I can stay in the flow of creating and not waste time or get frustrated when looking for a tool or a particular color.
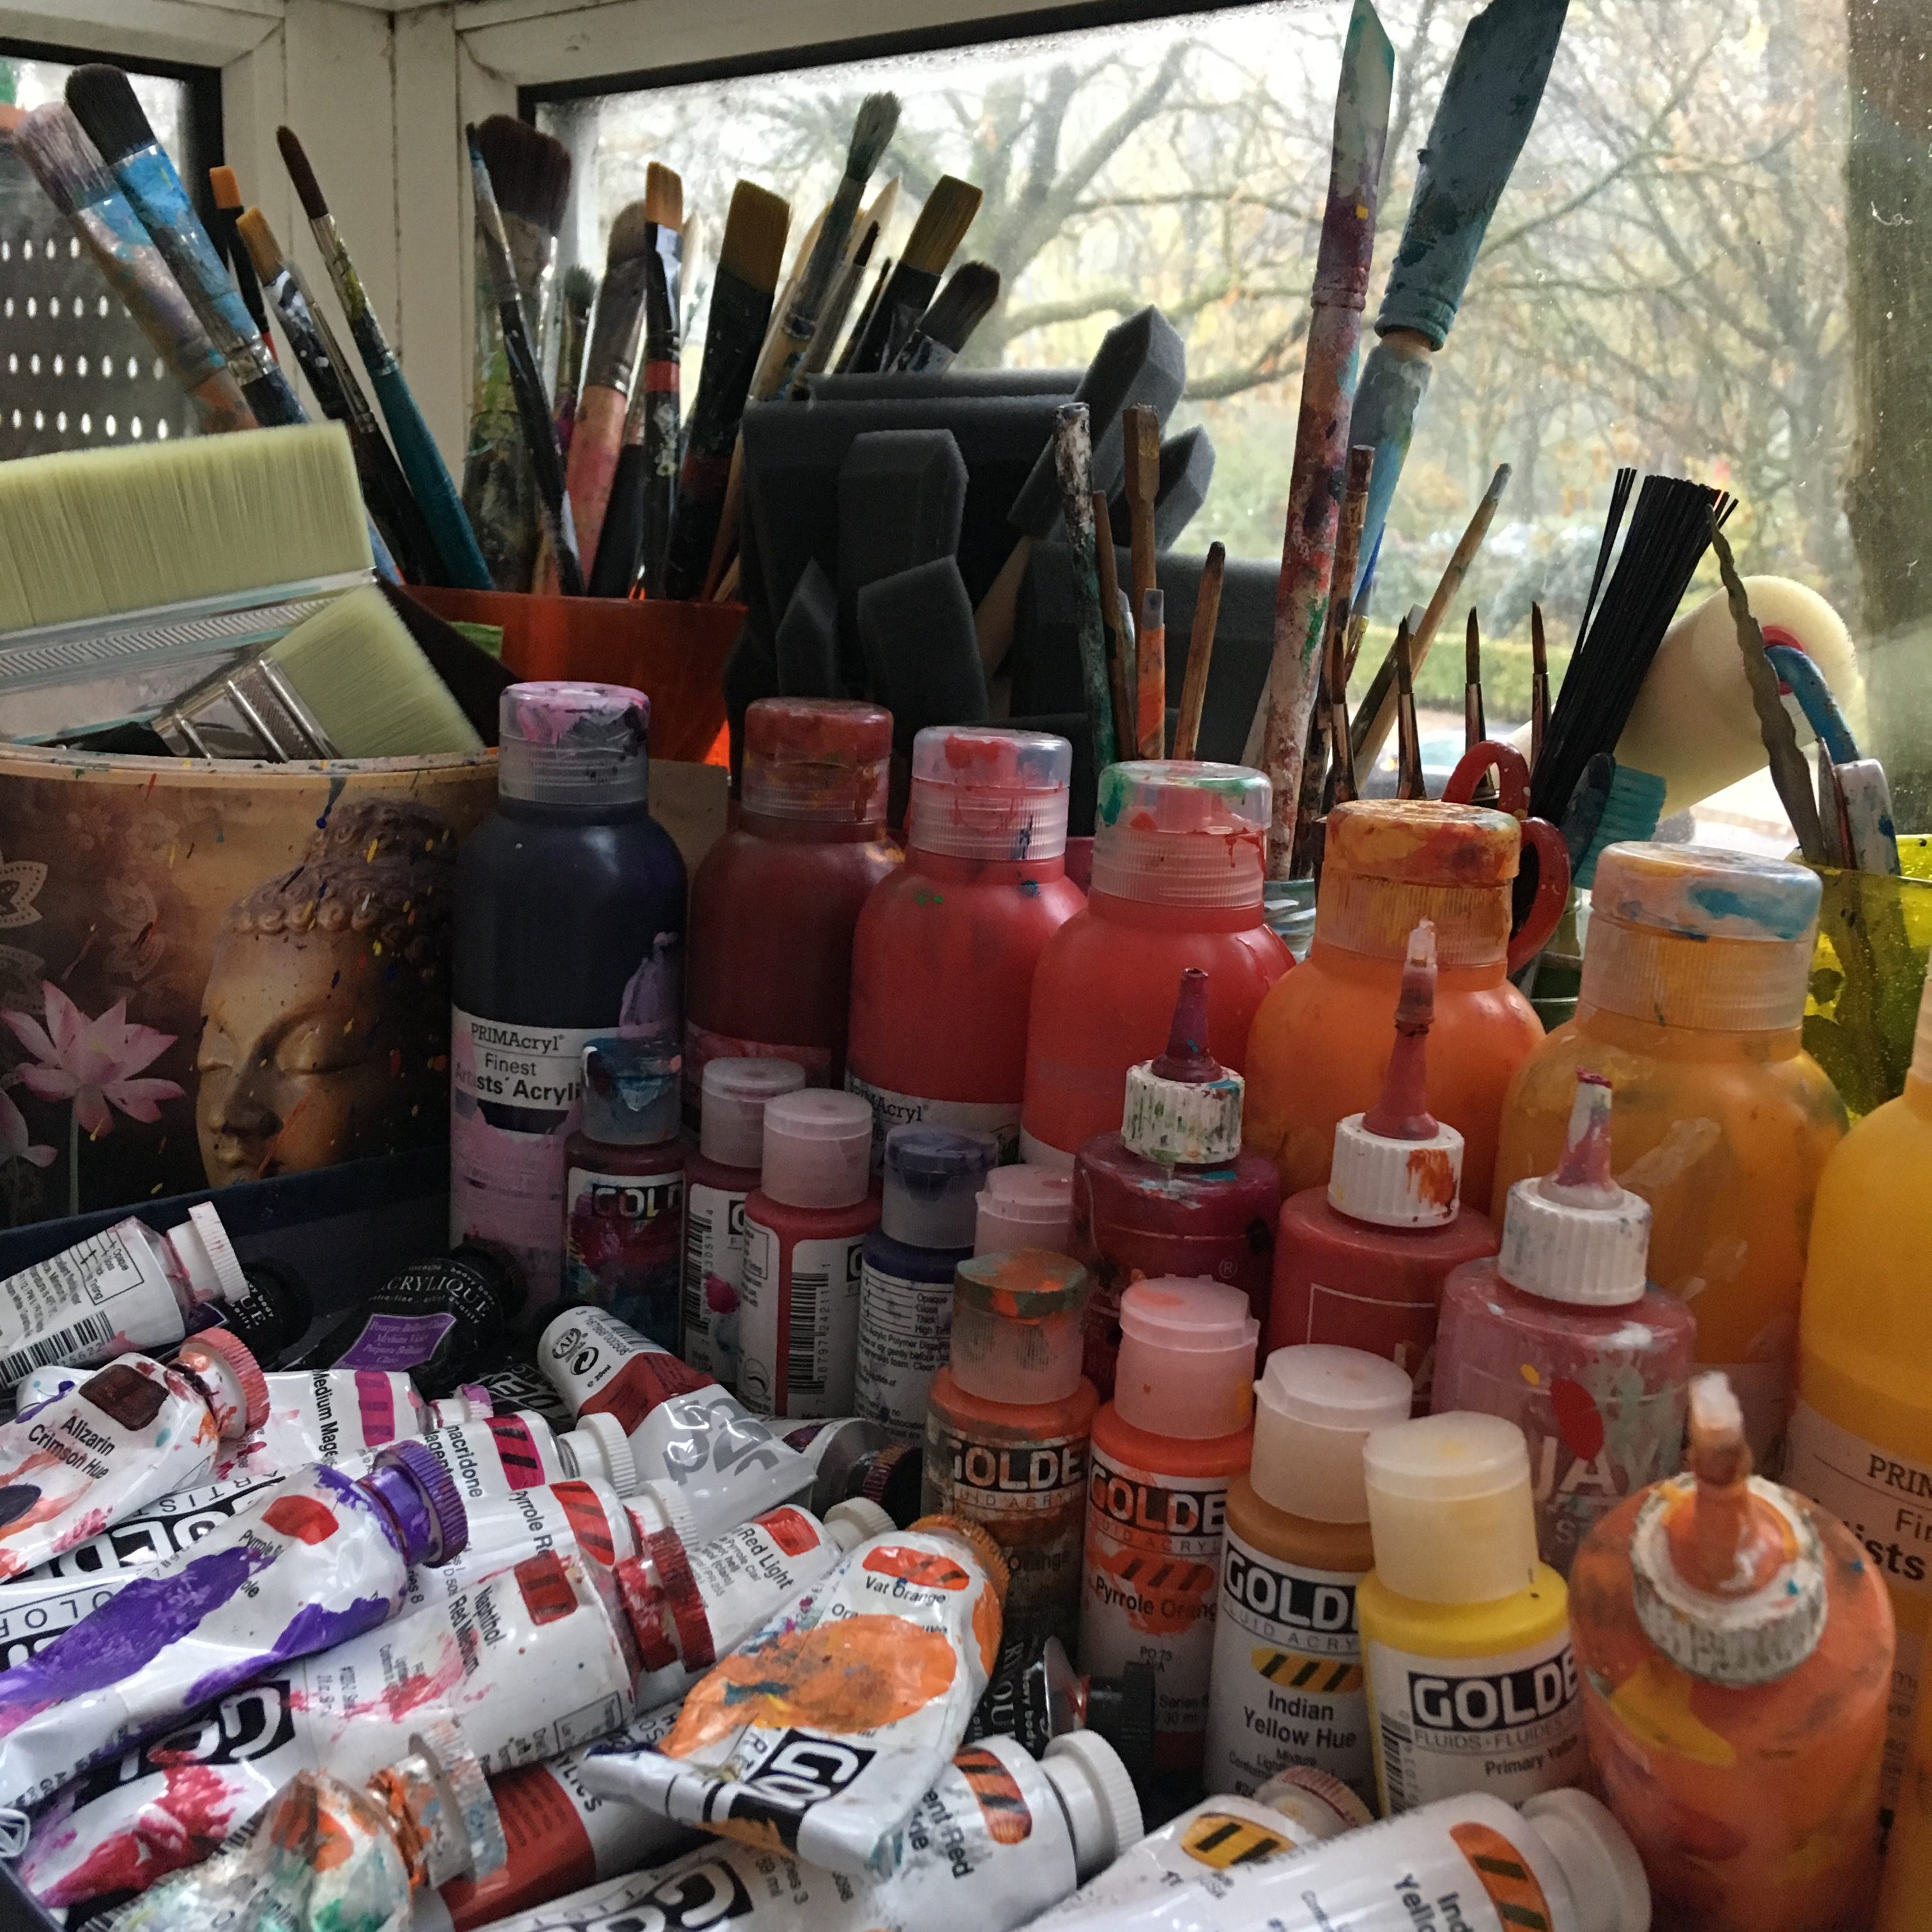
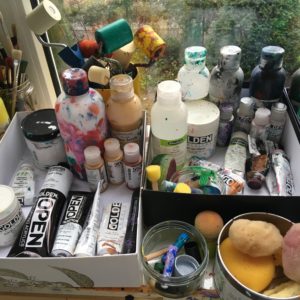
Tip number 4: No need to invest in fancy storage equipment. Cardboard boxes are a great way to keep your colours together. Marmelade jars and old flower pots or vases make great containers for various sizes of brushes and supplies. Keep the lids to put blobs of paint when you need only small quantities of paint.
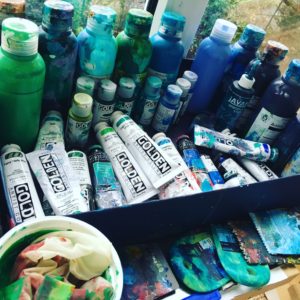
It’s also very appealing to enter my creative space where I can see my colours sorted between cold, warm and neutral.
As for the virtual tour, here’s what my atelier currently looks like:
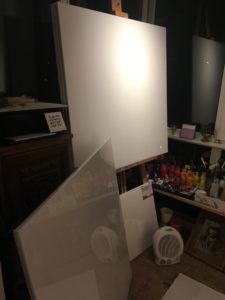
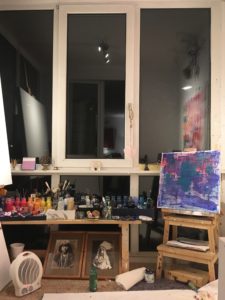
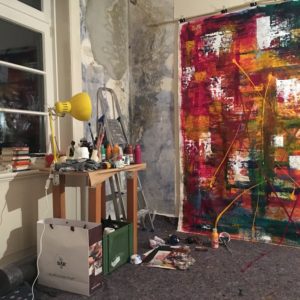
On the left of the doorway: my large easel, a few spare canvases, my portable heater for winter and most of my supplies currently in use. Hidden behind the large easel and behind the standing canvas: my very personal inspirational space with mementos from my travels and loved ones, a cupboard with a printer on top, my tripod for filming, spare paper, paper guillotine, music speakers, smaller blank canvases and a bin.
Straight ahead: Large bay window providing natural daylight, overhead, the orientable spotlights which allow me to orient them on either the easel, the floor or the opposite wall, the smaller makeshift easel on a stool. More supplies on the floor: my stencils stacked away behind the Cheyenne Chief under the bench and my acrylic paint pens in the box under the stool. Protective adhesive on the window frame because acrylic paint is not easy to remove from PVC (I tried and tested this before).
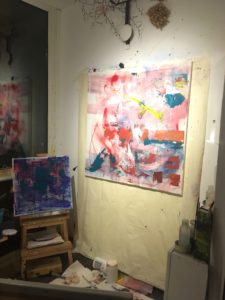
On the right of the doorway: on the 1.80m wide wall, a protective sheet between the canvas and the wall to avoid having to paint said wall any time soon as I tend to throw paint in swift motions, the makeshift easel for my smaller canvases.
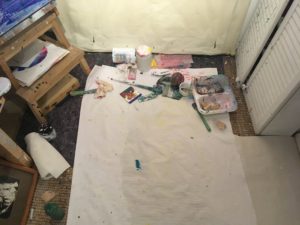
On the floor: thick sisal carpet and additional protective material and art supplies currently in use
Beyond my own creative space
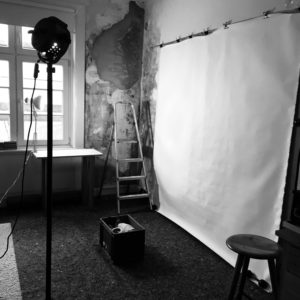
As I said, I absolutely LOVE my atelier, but I cannot paint canvases beyond 1.60m wide in there… so I’ve already borrowed some creative space, a few months ago at an artist friend’s, to be able to paint on a 200cm x 200cm (80″ x 80″) canvas. In these cases, all the tips above apply! Here’s how I organised myself then:
Next month on Behind the scenes: Favourite supplies and tools. Stay tuned by subscribing to my newsletter Atelier Monthly

Trackbacks/Pingbacks